
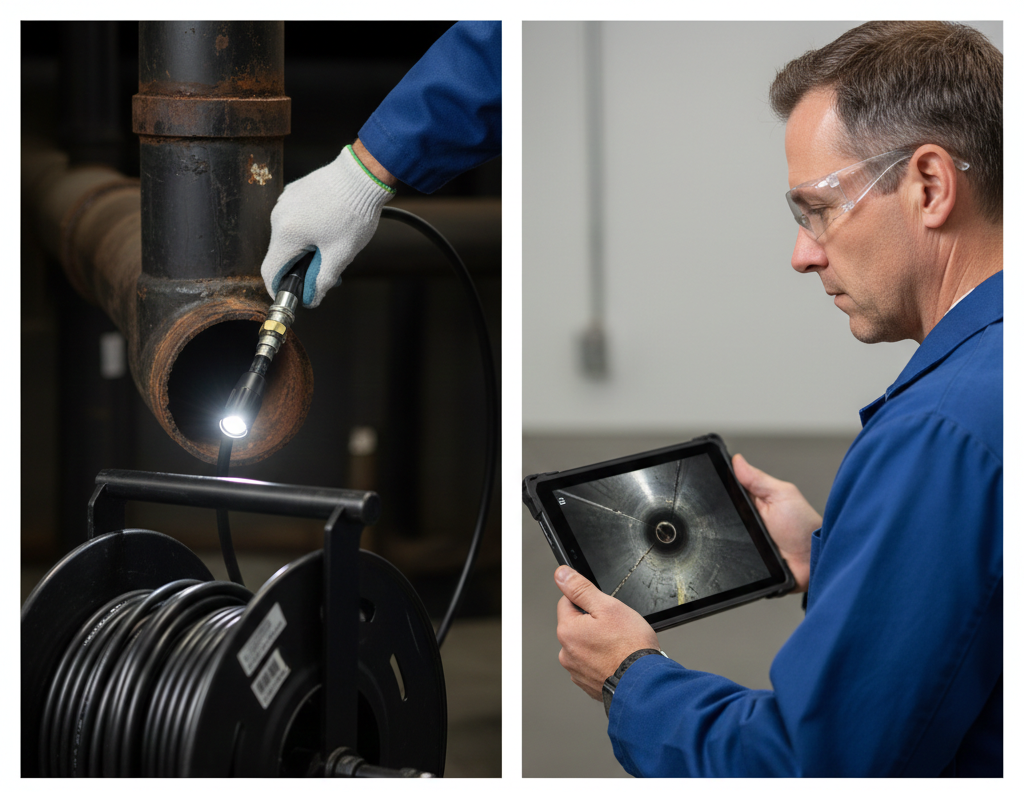
How Sewer Camera Inspections Work
Sewer problems rarely announce themselves politely. A slow drain, a gurgling toilet, or occasional backups are often the first signs that an underground pipe is troubled. Knowing how sewer camera inspections work gives homeowners a clear advantage when it comes to diagnosing problems accurately and choosing the right repair path.
In this article I will walk you through what technicians do, what the equipment shows, and how to read results so you can make informed decisions. Real examples, practical tips, and common cost factors are included to help you plan your next step with confidence.
How Sewer Camera Inspections Work in plain language
A sewer camera inspection uses a waterproof camera attached to a flexible cable that is fed into a drain line. As the camera travels through the pipe it sends live video to a monitor so the technician can watch the interior condition in real time. The camera typically has bright LED lights to illuminate the pipe and a locator transmitter so the technician can track the camera head above ground.
The process finds blockages, cracks, root intrusions, joint separation, bellies where the pipe sags, and buildup that reduces flow. Rather than relying on guesswork, the video provides a visual record that shows the exact location and nature of the problem. That makes repair planning more precise and reduces the chance of unnecessary digging or trial and error.
Why a camera inspection matters for homeowners and property managers
Waiting for an obvious failure to appear increases costs and risk. A timely inspection can reveal developing issues while they are still manageable. For example a small root intrusion may be removed with a mechanical cutter or hydro jet, avoiding a later trenching project. In rental properties regular inspections can prevent tenant complaints and protect rental income.
If you are comparing providers you may want to ask for a recorded video and a written report. Some companies offer additional services such as pipe mapping or line locating. If you prefer local options for both inspection and repair, consider this sewer camera inspection service to see how a local technician documents findings and recommends repairs.
Tools and technology used in sewer camera inspections
Modern inspection rigs combine several components that work together. The primary items include
- Camera head with LEDs and a waterproof housing
- Flexible push rod that feeds the camera into the pipe
- Monitor that displays the live video and allows recording
- Locator transmitter that lets the technician find the camera above ground
- Software to save video and create a report with time stamps and distance markers
High resolution cameras and pan tilt heads allow inspection of lateral connections and joints. Location equipment gives both depth and horizontal coordinates which help pinpoint where a repair will be needed. Many crews also bring hydro jetters and mechanical augers so they can clear minor obstructions after the inspection without returning later.
Step by step process technicians follow during an inspection
While protocols vary, a typical inspection follows clear stages that prioritize safety and thorough recording.
Preparation and safety checks
Before inserting the camera the technician isolates the correct access point. That might be a cleanout inside the building or an outside access port. They will clear obvious standing water if possible and run a preliminary check to confirm the right line is reached. The locator is tested and battery levels checked. A short walk around the property identifies any potential safety hazards over the line path.
Running the camera and documenting findings
The camera is fed slowly into the pipe while the operator watches the monitor. Video logs record distance from the access point and time stamps are saved. When the camera reaches a point of interest such as a root mass or a crack the operator will pause, angle the camera, and capture still images. The locator is used periodically to record the surface position of those points so an accurate map can be made for repair crews.
Inspections often include pushing the camera through branch lines where accessible. If the pipe is too full of water or debris the technician may run a short jet cleaning to clear the line and then continue the inspection. Careful crews will always record a before and after sequence when cleaning is performed so the client can see the difference.
How to interpret inspection videos and written reports
Not all reports look the same, but the most useful ones include a video file, still images, distance markers, and clear language describing the problem type. Here are practical pointers for reading a report.
- Check the distance markers to know how far from the access point a problem is located.
- Look for annotated stills that label cracks, roots, offsets, or bellies.
- Note whether the issue is active or historic. For example minor root hair may be a current problem if you see movement when water flows, otherwise it could be residual debris.
- Pay attention to recommendations. If the technician suggests lining, excavation, or spot repair they should explain why each option suits the situation.
If a report uses jargon ask the provider to explain. Common terms include infiltration which describes groundwater entering the pipe, and exfiltration which means sewage escaping the pipe. Another common term is offset where pipe sections no longer line up properly, often a result of ground movement or poor bedding.
Common problems found during inspections and real world examples
Knowing likely outcomes helps you anticipate repair options. Typical findings include
- Root intrusions that appear as fine filaments or dense masses depending on severity
- Cracks that range from hairline to open fractures
- Buildup and scale that narrows the pipe diameter
- Collapsed sections where the pipe has failed and debris fills the line
- Offset joints that allow solids to collect at the low point
Example 1: On a suburban property the camera revealed roots entering at a joint about 12 feet from the cleanout. The operator cleared the roots with a cutter and recommended a root barrier and periodic inspections to catch reentry.
Example 2: On an older home the inspection showed a sagging segment where soil movement caused a belly. The report included video, the exact location, and two options. The homeowner chose a trenchless line replacement to minimize yard disruption.
Cost factors and scheduling tips that save money
Costs vary with access difficulty, pipe length, and the time needed on site. A basic inspection is often priced per service call plus a per foot charge in some markets. If the technician needs to move landscape or remove pavement that will raise costs. Request a written estimate that separates the inspection fee from repair fees so you know what you are paying for.
Tips to keep expenses reasonable include scheduling inspections early when a problem is first suspected, combining inspections with routine plumbing maintenance, and asking for a recorded video so you can share it with multiple repair estimates. If you plan to sell or buy a home a pre closing inspection often uncovers hidden defects that can affect negotiations.
Questions to ask before hiring a service provider
When selecting a technician consider asking the following
- Do you record video and provide a written report
- Can you mark the surface location of defects for repairs
- What follow up services do you offer if a repair is needed
- What warranties cover your work and materials
- How long will the inspection take and will I receive the files
These questions reveal both technical ability and how the crew documents work. A clear report saves time later because repair crews are informed before digging or scheduling a lining job.
Conclusion
Understanding how sewer camera inspections work makes a real difference when facing drainage problems. The visual record provided by a camera eliminates much of the guesswork and lets you choose the most appropriate repair option. From small root removals to full replacements there is usually a less invasive path when a problem is caught early. Practical steps include asking for video and written reports, checking distance markers, and getting multiple estimates when repairs are recommended. If you suspect an issue schedule an inspection sooner rather than waiting for a major failure. A timely diagnosis can reduce repair scope and cost while protecting your property value. Ready to see what an inspection reveals on your property Contact a local plumbing team and request a recorded inspection so you have clear information to plan next steps.